Hello fellow yarn enthusiasts! Get ready to sprinkle some celestial magic into your home with our delightful Amigurumi Star Pillow free crochet patterns. Imagine a plump, huggable star, radiating warmth and whimsical charm, stitched with love in your favorite colors. These little beauties are more than just decorations; they’re cozy companions waiting to brighten any room!
Whether you’re just dipping your toes into the wonderful world of amigurumi or a seasoned pro looking for a quick and satisfying project, this pattern is absolutely perfect for you. They make the most adorable gifts for little ones, unique additions to your nursery decor, or simply a lovely touch of handmade happiness for your living space. You’ll learn simple shaping techniques, stuffing tips for that perfect plumpness, and how to seamlessly join your pieces to create these stellar pillows. Let’s grab our hooks and get crafting!

Crochet Your Way to Cosmic Comfort: The Amigurumi Star Pillow
Who doesn’t love a touch of whimsy and coziness in their home decor? This Amigurumi Star Pillow pattern is the perfect way to inject a little bit of starry charm into your living space or a child’s bedroom. Easy to make and incredibly versatile, this project is a fantastic way to practice your amigurumi skills and end up with a functional, huggable creation. DIY Magazine brings you this delightful free crochet pattern, and we’re here to guide you through every stitch!
Crafting Your Cosmic Companion: Yarn and Hook Recommendations
Choosing the right materials is the first step towards a successful and enjoyable crochet project. For this Amigurumi Star Pillow, we want something that’s soft, durable, and holds its shape well.
Yarn Choices for Stellar Results
The beauty of amigurumi is its versatility in yarn selection. For this star pillow, we recommend:
Worsted Weight Cotton Yarn: This is a fantastic all-around choice. Cotton is breathable, durable, and has a lovely matte finish that’s perfect for amigurumi. It also washes well, which is a bonus for a pillow that might see a lot of love. Look for brands known for their stitch definition.
Acrylic Yarn: A budget-friendly and widely available option. Acrylic can be very soft and comes in an incredible array of colors. For amigurumi, opt for a good quality acrylic that doesn’t split easily. It’s also hypoallergenic, making it a great choice for children’s items.
Plush or Velvet Yarns (for advanced crafters): If you’re looking to create an extra-luxurious and huggable star, consider plush or velvet yarns. These can be trickier to work with as stitch definition is lower, but the end result is incredibly soft and cuddly. Ensure you use a larger hook with these yarns to maintain a good fabric density.
The pattern typically calls for a main color for the star itself and potentially a contrasting color for accents or a backing if you choose to deviate from the basic star shape.
Hook Size: The Key to Dense Amigurumi Fabric
For amigurumi, it’s crucial to use a hook size that’s smaller than what’s recommended on the yarn label. This creates a dense fabric that prevents the stuffing from showing through and ensures your creation holds its shape.
General Recommendation: For worsted weight yarn, a hook size of 3.5mm (E/4) to 4.0mm (G/6) is usually ideal.
Experimentation is Key: Always crochet a small swatch with your chosen yarn and hook to test the fabric density. You shouldn’t be able to see the holes between the stitches easily. If you can, go down a hook size.
Mastering the Magic: Stitch Techniques You’ll Use
This Amigurumi Star Pillow pattern primarily utilizes a few fundamental crochet stitches that are the building blocks of most amigurumi projects. Don’t be intimidated; once you master these, a whole world of stuffed creatures and cute creations opens up!
Essential Stitches for Your Star
Magic Ring (or Magic Circle): This is the foundation for creating seamless, tight circles in amigurumi, starting your work without a hole in the center. It might seem a little tricky at first, but there are plenty of excellent video tutorials available online that can show you the technique step-by-step.
Single Crochet (sc): The workhorse of amigurumi. You’ll be crocheting rows and rounds of single crochet stitches to build the shape of your star.
Increase (inc): To make your star grow, you’ll use increases, which typically means working two single crochet stitches into the same stitch.
Decrease (dec): To shape and close off your star, you’ll use decreases, which involve working two stitches together as one. The invisible decrease is often preferred in amigurumi as it’s less noticeable.
Slip Stitch (sl st): Used to join rounds and fasten off your work securely.
Chain (ch): Used to start rounds or create decorative elements.
Tips for Beginners: Navigating Your First Starry Project
Embarking on your first amigurumi project can feel a little daunting, but with a few handy tips, you’ll be crocheting a perfect star in no time!
Read Through the Pattern First: Before you even pick up your hook, read the entire pattern from beginning to end. This helps you understand the flow of the project and identify any stitches or techniques that might be new to you.
Use a Stitch Marker: Since amigurumi is worked in continuous rounds, it’s essential to mark the beginning of each round. This prevents you from losing count and ensures your star grows evenly.
Stuff as You Go: Don’t wait until the very end to stuff your star. As you crochet, gradually add stuffing to maintain a smooth shape and prevent the fabric from stretching. Stuff firmly, but not so much that the stitches are strained.
Keep Your Tension Consistent: This is crucial for amigurumi. Aim for even tension throughout your work to create a neat and dense fabric. If your stitches are too loose, the stuffing will show through; if they’re too tight, your fabric can become stiff and difficult to work.
Don’t Be Afraid to Frog (Unravel): If you make a mistake, it’s okay! Gently unravel your work and try again. It’s all part of the learning process.
Watch Video Tutorials: For stitches like the magic ring or invisible decrease, watching a short video can be incredibly helpful. Seeing the technique in action often makes it much easier to understand.
Sparkle and Shine: How to Customize Your Star Pillow
The beauty of a free pattern like this is the freedom to make it your own! The Amigurumi Star Pillow is a blank canvas for your creativity.
Color Play for a Unique Star
Classic Star: Stick with a bright yellow or a soft cream for a traditional star look.
Rainbow Delight: Alternate colors for each round to create a vibrant rainbow star.
Ombre Effect: Use a gradient yarn or carefully planned color changes to create a beautiful ombre effect.
Two-Tone Charm: Make the front and back of your star in different colors, or use a contrasting color for the points.
Subtle Neutrals: For a more sophisticated look, opt for shades of grey, white, or beige.
Size Matters: Scaling Your Star Pillow
The pattern provided is likely for a specific size, but you can easily adjust it to create larger or smaller stars.
Making it Bigger: To create a larger star, simply continue adding rounds of increases according to the established pattern (e.g., if round 4 was increase in every stitch, round 5 might be sc, inc). The number of points will remain the same, but the overall diameter will increase.
Making it Smaller: To create a smaller star, you would work fewer increase rounds. Be mindful that if you make it too small, it might be difficult to stuff and sew together effectively.
Cosmic Care: Keeping Your Star Pillow Pristine
Your finished Amigurumi Star Pillow is designed to be enjoyed, and with a little care, it will last for years to come.
Washing and Drying Instructions
Hand Washing is Best: For most yarn types, hand washing is the gentlest method. Use cool water with a mild detergent. Gently squeeze out excess water, but do not wring or twist the pillow.
Machine Washing (with caution): If your yarn label allows for machine washing, use a delicate cycle with cold water and a mild detergent. Place the pillow inside a mesh laundry bag to protect it from snagging.
Drying: Never put your amigurumi in a dryer! The heat can cause the stuffing to melt or clump, and the fibers of the yarn can become misshapen. Instead, lay the pillow flat on a clean towel in a well-ventilated area to air dry completely. Reshape it gently while it’s still damp.
Beyond the Pillow: Inspiring Project Ideas
While a star pillow is a delightful finished product, this pattern can inspire a universe of other creative endeavors!
Amigurumi Star Garland: Crochet multiple smaller stars and string them together to create a charming garland for parties, holidays, or everyday decor.
Star Appliqués: Make a few small stars and use them as embellishments for bags, hats, or even clothing.
Themed Nursery Mobile: Combine stars with other shapes like moons and clouds to create a whimsical mobile for a baby’s nursery.
Cozy Keychains: Crochet tiny stars and attach a keyring for a cute and personalized keychain.
Stuffed Star Toy: For a younger child, a larger, well-stuffed star can become a beloved cuddly toy. Ensure all parts are securely attached.
The Amigurumi Star Pillow is more than just a crochet project; it’s an opportunity to create something unique, personal, and wonderfully huggable. So grab your hook, pick your favorite yarn, and let your creativity shine as bright as a star!
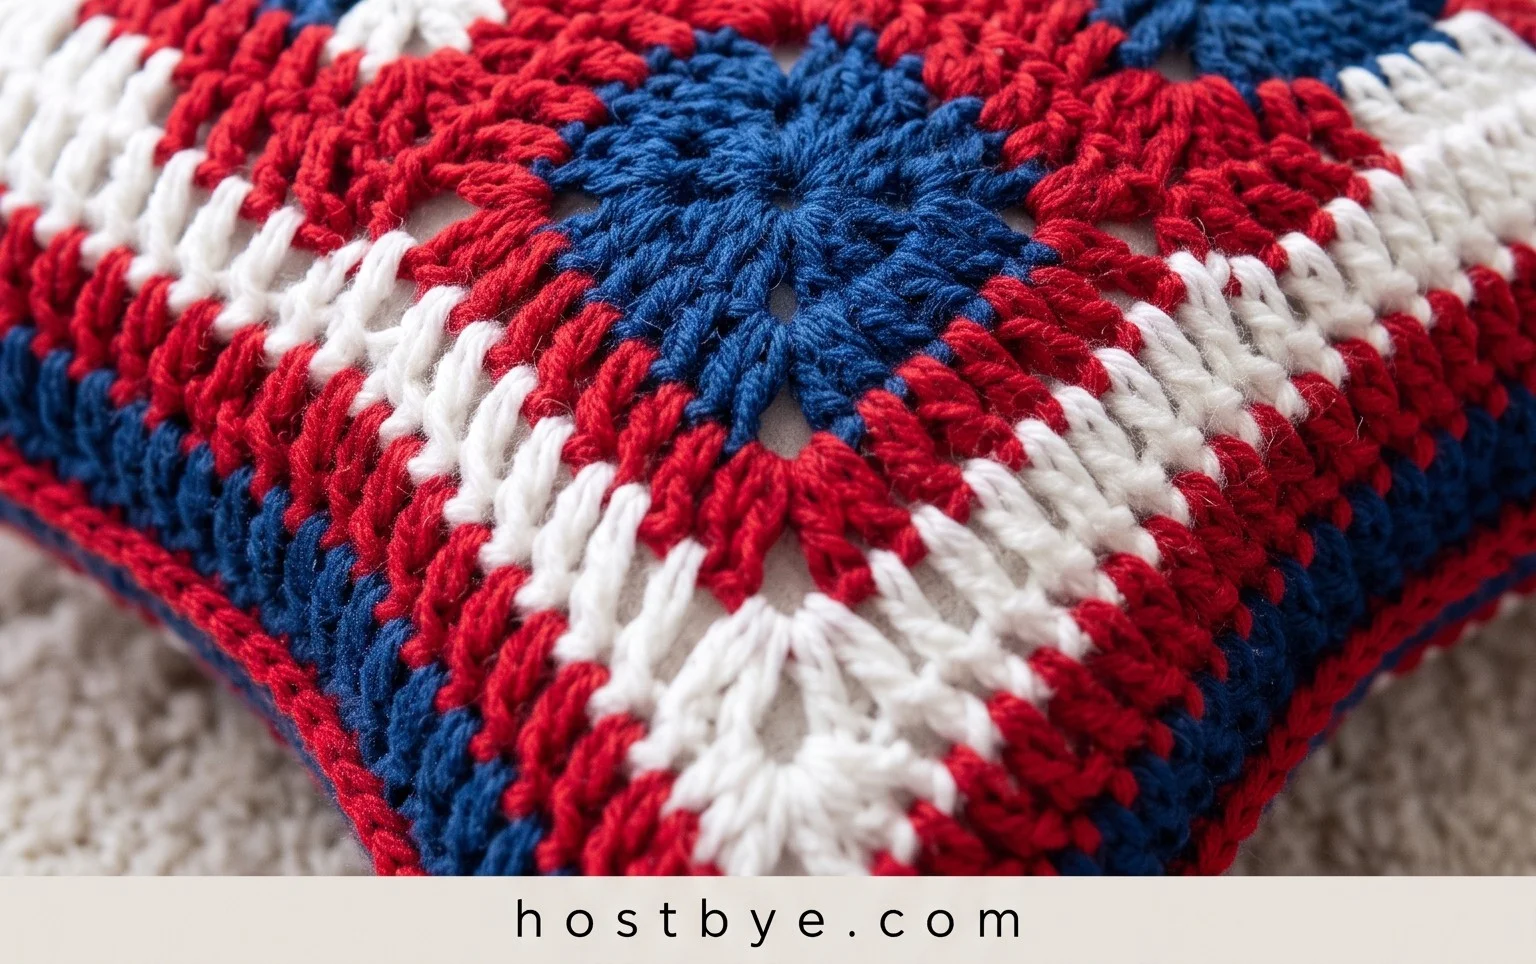
We hope you’re feeling inspired to bring a little bit of starry magic into your home with these adorable amigurumi star pillow free crochet patterns! They’re such a delightful project, perfect for gifting or simply adding a cozy, handmade touch to any room. Don’t be shy – dive in and give it a try! We can’t wait to see your finished creations twinkle on social media. Tag us or use #AmigurumiStarPillow so we can share in your crafting success!
Feel free to get creative with color combinations, stitch textures, or even by adding a little embroidery to give your stars unique personalities. And when you’re ready for your next adventure, be sure to explore more delightful DIY Magazine crochet patterns! Happy crocheting!