Hello fellow yarn enthusiasts and welcome to a wonderfully whimsical crochet project! Get ready to sprinkle some serious charm around your home because today, we’re diving into how to crochet adorable Pumpkin Cuties, perfect for adding a touch of handmade magic to your spooky decorations.
Imagine a collection of plump, irresistible pumpkins, each stitched with love and bursting with personality. They’re the perfect size to nestle on a shelf, grace a mantelpiece, or even become the star of your fall-themed table setting. These little cuties are wonderfully beginner-friendly, making them an ideal first project or a delightful way to unwind after a long day. Plus, they make the sweetest, most thoughtful gifts for friends and family who adore the autumn season!
Throughout this easy-to-follow tutorial, you’ll learn simple crochet techniques, how to create those classic pumpkin ridges, and even a few tips for adding delightful details. Let’s grab our hooks and get crafting!

Crochet Pumpkin Cuties: Your Spooky Season Decorating Guide
Get ready to embrace the cozy charm of autumn and the thrill of Halloween with these adorable crochet pumpkin cuties! Whether you’re a seasoned crocheter or just dipping your toes into the yarn world, this pattern is designed to be fun, rewarding, and to fill your home with festive spirit. These little pumpkins are perfect for adding a touch of handmade whimsy to mantels, tabletops, bookshelves, or even as part of a larger Halloween display. So grab your hook and let’s get crafting!
Yarn and Hook Recommendations: The Perfect Pairing for Your Pumpkins
Choosing the right yarn and hook is crucial for creating plump, perfectly shaped pumpkins. For these cuties, we’re aiming for a yarn that has a nice stitch definition and a bit of weight to hold its shape.
Yarn: Worsted weight yarn is your best friend for this project. It’s readily available, comes in a fantastic array of colors (especially autumnal oranges, greens, and browns!), and works up quickly. Look for acrylic yarn for durability and easy care, or opt for a wool blend for a more natural feel. For classic pumpkins, a vibrant orange is a must. But don’t stop there! Consider cream, white, or even a deep purple for a more unique take on Halloween pumpkins. For the stems, a lovely brown or a deep forest green will work beautifully.
Hook: A crochet hook size that complements your chosen yarn is key. For most worsted weight yarns, a US size H/8 (5.0 mm) hook is a great starting point. This size will create a fabric that’s dense enough to hold its shape without being too stiff. You might need to adjust slightly depending on the specific yarn you use and your personal crocheting tension. If your stitches look too loose and gappy, try going down a hook size (e.g., US G/6 or 4.0 mm). If the fabric feels too tight and difficult to work with, go up a hook size (e.g., US I/9 or 5.5 mm).
Stitch Techniques to Master Your Pumpkin
This pattern primarily relies on a few fundamental crochet stitches, making it accessible for beginners.
Magic Ring (or Magic Circle): This is the foundation for creating a tight, seamless center for your pumpkin. It allows you to start your rounds with no hole in the middle.
Single Crochet (sc): This is the workhorse stitch that will build the body of your pumpkins. It creates a dense and sturdy fabric.
Increase (inc): To make your pumpkin grow, you’ll use increases. This typically means working two single crochets into the same stitch.
Decrease (dec): To shape the top and bottom of your pumpkin and to close up the opening when stuffing, you’ll use decreases. The most common and neatest way to do this in amigurumi is the invisible decrease, where you work your single crochet only into the front loops of the next two stitches.
Slip Stitch (sl st): This stitch is used to join rounds and to fasten off your yarn.
Tips for Beginners: Crocheting Your Way to Pumpkin Perfection
Don’t be intimidated if you’re new to crochet! These tips will help you create beautiful pumpkin cuties with confidence.
Practice the Magic Ring: This is probably the most challenging stitch for beginners. Watch a few video tutorials and practice making a few magic rings before you start your pumpkin. Once you get the hang of it, it’s a breeze!
Use a Stitch Marker: In crochet, it’s very easy to lose track of where a round starts, especially when working in continuous rounds. A stitch marker is invaluable for marking the first stitch of each round. Place it in the first single crochet of the round, and move it up as you go.
Consistent Tension: Try to maintain an even tension throughout your project. This will ensure that your stitches look uniform and that your pumpkin has a smooth, even shape. If you’re a tight crocheter, you might need a slightly larger hook. If you tend to crochet loosely, a smaller hook will help.
Stuffing Techniques: Don’t overstuff your pumpkins initially. Start with a small amount of stuffing in the bottom and gradually add more as you work your way up. You want your pumpkin to be firm but not so tightly packed that it distorts the stitches. Aim for a nice, rounded shape.
Weave in Ends Securely: When you’re done crocheting and stuffing, make sure to weave in your yarn tails securely. This prevents your stuffing from coming out and gives your finished piece a clean, professional look.
Customizing Your Pumpkin Patch: Colors, Sizes, and More!
The beauty of these crochet pumpkin cuties is how easily they can be customized to fit your personal style and decor.
Color Play:
Classic Orange: You can’t go wrong with a traditional vibrant orange.
Harvest Hues: Experiment with deeper shades of orange, burnt sienna, rust, or even a mustard yellow for a more rustic feel.
Spooky Shades: For Halloween, consider a deep plum, a ghostly white, a creamy ivory, or even a speckled yarn for a more unique and whimsical look.
Green Gourds: Don’t forget the stems! A rich brown or a deep forest green will add authenticity. You can even make a few pumpkins entirely in green for a fun twist.
Size Matters:
The pattern is written to create a specific size, but you can easily adjust it.
Smaller Pumpkins: To make smaller pumpkins, simply work fewer rounds in the main body of the pumpkin before you start decreasing.
Larger Pumpkins: For larger pumpkins, add more rounds in the main body before decreasing. Remember that adding rounds will also increase the diameter of your pumpkin.
Embellishments:
Get creative with how you finish your pumpkins!
Add a Leaf: Crochet a small leaf in green yarn and attach it to the stem for an extra touch.
Embroidery Details: Use black embroidery floss to add eyes and a mouth for a friendly or spooky jack-o’-lantern face.
Buttons: Sew on small buttons for eyes for a cute and cuddly look.
Twine or Jute: Wrap twine or jute around the stem or the body of the pumpkin for a rustic, farmhouse feel.
Caring for Your Crochet Cuties: Keeping Them Spooktacular
These pumpkin cuties are designed to be cherished, and with a little care, they’ll last for many seasons.
Washing: For most acrylic yarns, you can hand wash your pumpkins gently in cool water with a mild detergent. Avoid harsh chemicals or bleach.
Drying: Gently squeeze out excess water without wringing. Lay your pumpkins flat on a clean towel in a well-ventilated area to air dry. Avoid direct sunlight, which can fade colors.
Spot Cleaning: For minor spills or dust, you can often spot clean with a damp cloth and mild soap.
Fluffing: If your pumpkin starts to lose its shape over time, you can gently restuff it or rearrange the existing stuffing to restore its plumpness.
Project Ideas: Beyond Just Decor!
These versatile pumpkin cuties can be used in so many delightful ways.
Tabletop Displays: Arrange a collection of various sizes and colors on your coffee table, mantelpiece, or entryway console.
Tiered Tray Decor: They are the perfect size for adding charm to a tiered tray display.
Halloween Garland: String them together with some festive beads or other crochet shapes to create a unique Halloween garland.
Gift Toppers: Add a small crocheted pumpkin to a gift for a handmade touch that the recipient will adore.
Bowl Fillers: Fill a decorative bowl with a mix of your pumpkin cuties for an instant festive centerpiece.
Play Food: For little ones, these can become fun additions to their play kitchens or pretend autumn harvest games.
With this detailed guide, you’re well on your way to crocheting a charming collection of pumpkin cuties. Happy hooking, and have a wonderfully spooky and crafty season!
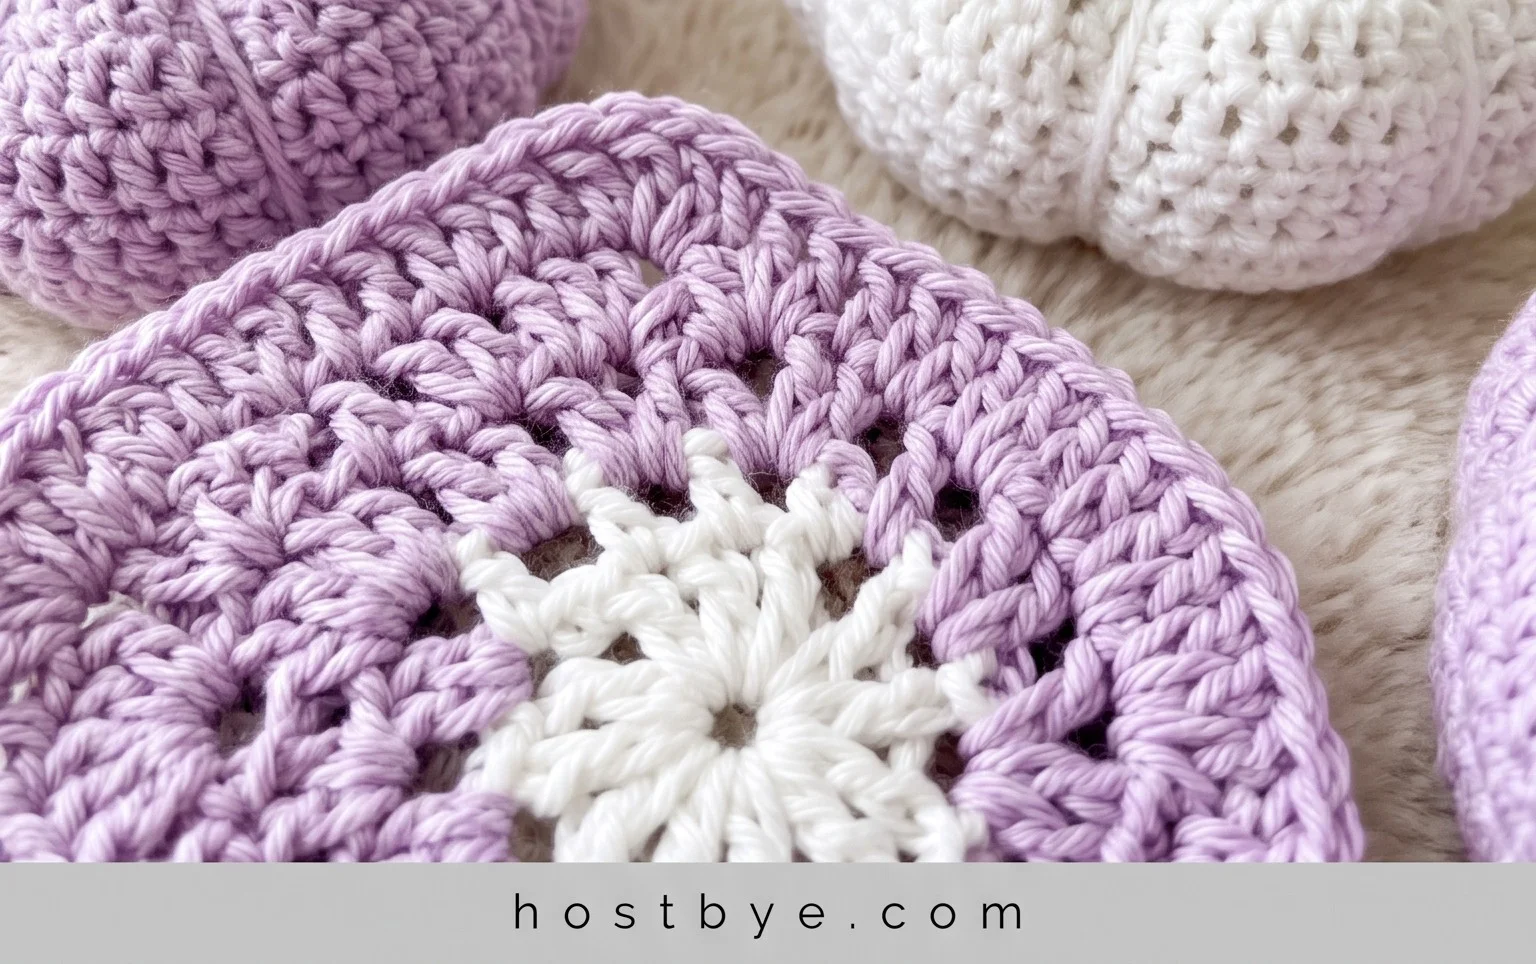
And there you have it! Your very own adorable crochet pumpkin cuties, ready to add a touch of handmade charm to your spooky season decor. We hope you had as much fun creating these as we did designing them. Don’t be shy – we’d absolutely love to see your finished pumpkins! Tag us on social media using #PumpkinCutiesCrochet so we can admire your crafty creations.
Feeling inspired? Why not experiment with different yarn colors for unique pumpkin shades, or add little stems made from brown yarn or felt? The possibilities are endless! And if you’re craving more crochet magic, be sure to explore our other patterns for more projects that will fill your home with handmade warmth.